Table of Contents
How To Format USB Drive On Mac And Windows
In the fast-paced digital age, USB drives have become necessary tools for transferring and storing data. Whether you are a professional running sensitive information or a student with pivotal assignments, the capability to format USB drives on both Windows and Mac platforms is essential. In this comprehensive companion, we’ll walk you through the step-by-step process, ensuring that you have a flawless experience while managing your USB drives.
Understanding the significance of Formatting
Why format a USB drive?
Before probing into the specifics, it’s pivotal to understand why formatting your USB drive is a necessary step. Formatting basically wipes the drive clean, erases any data, and sets up the train system. This not only helps in optimizing the drive’s performance but also ensures comity across different biases.
Formatting a USB Drive on Windows
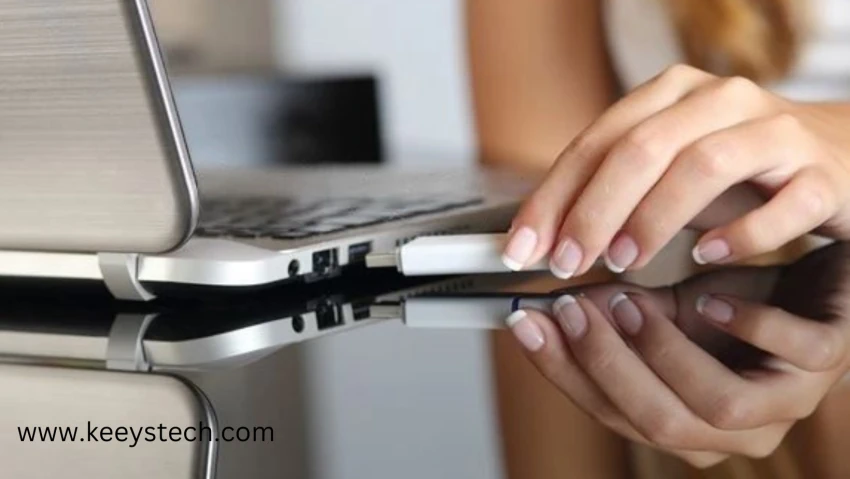
Step 1: fit the USB Drive
Begin by plugging your USB drive into an available port on your Windows computer. Ensure that the drive is honored and visible in the train Explorer.
Step 2: Open Disk Management
Press the Windows Crucial X to open the Power Stoner menu and select Disk Management from the list. detect your USB drive in the lower section of the window.
Step 3: Format the USB Drive
Right-click on your USB drive and choose Format. elect the asked train system( NTFS, FAT32, or exFAT) and assign a name to the drive. Click OK to initiate the formatting process.
Step 4: Complete the Formatting
Stay for the process to complete, and once finished, your USB drive is ready for use on Windows.
Formatting a USB Drive on a Mac
Step 1: Connect the USB Drive
Fit the USB drive into an available harbor on your Mac. Open the Finder to ensure that the drive is honored.
Step 2: Launch the disk utility.
Navigate to Applications> Utilities> Disk Utility. In the Disk Utility window, detect your USB drive in the left sidebar.
Step 3: Abolish the USB Drive
Select your USB drive and click on Erase. Choose the train system( Mac OS Extended, exFAT, or MS-DoS FAT) and click Abolish to initiate the process.
Step 4: Evidence
Once the process is complete, you will admit evidence of communication. Your USB drive is now formatted and ready for use on a Mac.

Stylish Practices for USB Drive Formatting
1. Provisory Important Data
Before formatting, always insure you have a backup of any pivotal data on the USB drive. Formatting erases all the information.
2. Choose the Right train System
Choosing the applicable train system depends on your specific requirements. NTFS is ideal for Windows, while exFAT ensures cross-platform compatibility.
3. Regular conservation
Consider periodically formatting your USB drives to maintain optimal performance and prevent implicit data corruption.
Windows Instructions
Formatting a USB drive or flash memory on Windows can be a daunting task, but it doesn’t have to be. By following this step-by-step guide, you will be able to successfully format your USB drive or flash memory in no time.
To start, insert your USB drive into the computer and open the Computer window by clicking the Start button and typing Computer into the search box. Once the computer window opens, locate your USB drive from the list of available drives. Right-click the USB drive and select Format from the menu.
The Format window will appear, allowing you to set the desired file system for your drive. If you are unsure which file system to use, select FAT32, as it is the most compatible format for both Windows and Mac computers. Select any other options that you may wish to use, such as Quick Format or Enable File and Folder Compression, and then click Start.
After clicking Start, Windows will begin to format your USB drive. Once the process is complete, your USB drive or flash memory will be ready for use.
Mac Instructions
If you’re looking to format your USB drive’s flash memory on a Mac, the process is relatively straightforward. It’s important to note that formatting your drive will delete any existing data, so make sure you back up any important information beforehand.
To get started, plug your USB drive into your Mac and open the Finder app. Next, locate the drive in the Finder window, right-click on it, and select Erase from the drop-down menu.
In the Erase dialog box that appears, select Mac OS Extended (Journaled) as the format. Once you’ve done that, click the erase button and wait for the process to finish. This may take several minutes.
When it’s complete, your USB drive’s memory will be formatted and ready to use. You can now store files on it and transfer them between devices as needed.
Congratulations! You have just successfully formatted your USB drive flash memory on your Mac.

Final Words:
Knowing how to format a USB drive on both Windows and Mac operating systems is an essential skill for anyone who relies on these portable storage devices. Whether you need to remove data clutter, resolve errors, or prepare the drive for a specific purpose, the steps outlined in this guide will help you achieve your goals.
Just remember to back up any important data before formatting, as the process will erase all existing files. With this knowledge in hand, you can keep your USB drives in tip-top shape and ensure they serve you well for years to come.